
Photography - Basic Exposure Controls
I was having a conversation with my daughter, Alyssa, the other day about photography and I thought others might benefit from it, too. We were talking about the most basic controls on the camera. A camera records the light that hits the film or sensor. There are three controls on the camera that you can adjust to control the amount of light that the film or sensor is exposed to. There is the shutter, the aperture and the ISO.
The shutter controls how long the light hits the sensor or film. This affects the final image in several ways. A fast shutter speed with freeze action while a slow shutter speed allows fast-moving subjects to become blurred. Also, a slow shutter speed may become a problem if it gets so low that the shaking of your hands blurs the entire image.
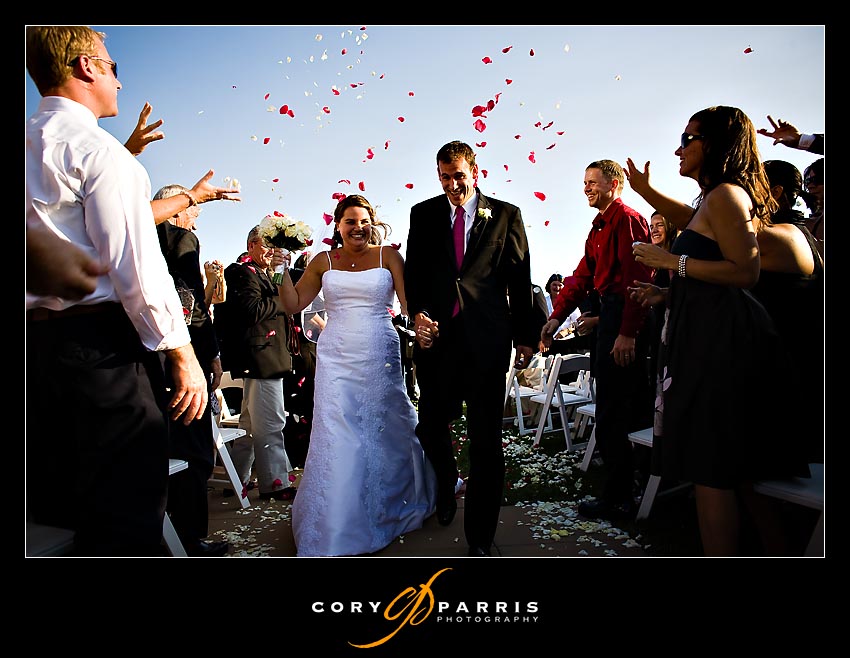 Here I used a faster shutter speed to freeze the falling rose petals.
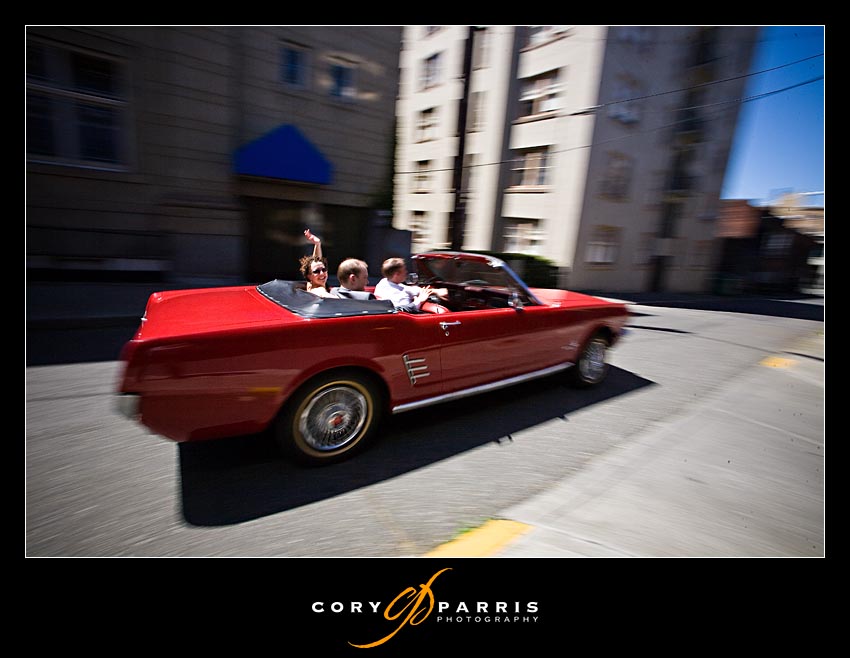 I used a slower shutter speed to capture the motion of the car in this image.
The aperture controls the size of the hole that the light will be coming through when it is exposed to light. Obviously, the larger the hole, the more light will come through it. When you are using a larger aperture, besides letting in more light, it also controls how much of the image is in focus. This is called Depth of Field. A shallow depth of field helps in making the subject pop from the background and is commonly used in fashion and sports photography. A deeper depth of field keeps more of the image in focus and is commonly used in landscape photography.
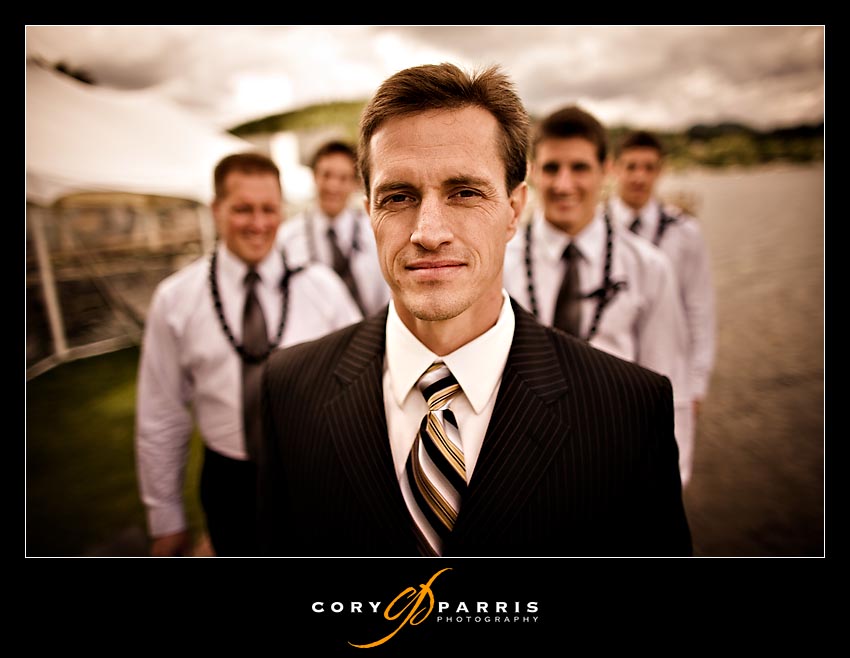 I use shallow depth of field all the time to create separation of the subject from the background. In this image the groom is in focus and his groomsmen are not.
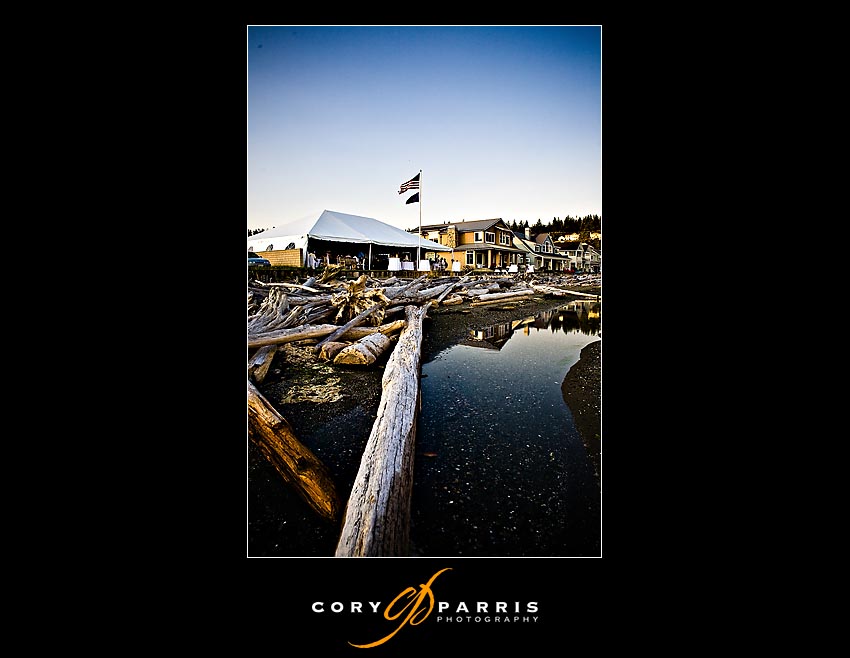 This image has a lot of depth of field so that everything in the frame is sharp.
The third component is the ISO, which used to be called film speed. With film, you set the ISO to whatever the film was rated at. With digital cameras, the ISO can be changed at any time. It basically adjusts the sensitivity of the sensor to light. This can be very helpful in low light situations, but it can come at the price of some extra noise or digital grain. It is as the light level gets lower that it makes this important to change. For outdoors in good light, you probably want to leave it at the lowest ISO, usually 100.
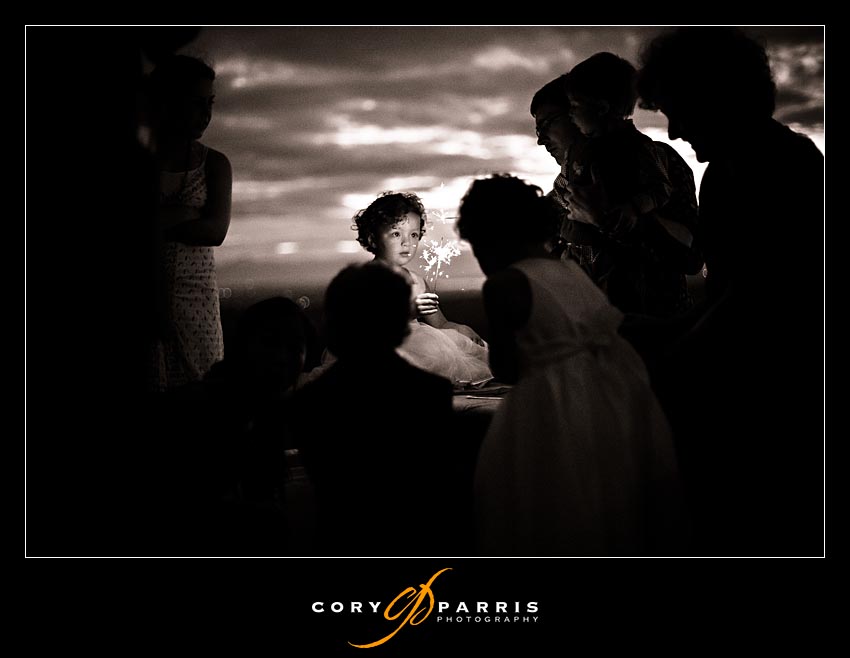 Here is an example of using high ISO to capture an image of a little girl with a sparkler
All three are related in that changing one will require you to make changes to at least one of the others.